You just flick the switch to on, right? Thats how you turn on a tube amp. Very easy, now you can go play!
If only.
Things are never that simple. And tube amps, as awesome as they are, can be awkward and messy.
Due to their design something as straightforward as turning an amp on becomes difficult. You have to do it a certain way.

With that in mind I’ll take you through the fine art of turning on a tube amp the right way. This will make sure your amp lasts as long as possible without any issues and performs well.
So let’s get into it!
How to Turn on a Tube Amp
If you simply want a quick guide to the correct way to turn on a tube amp then follow this:
- Plug in the amp and plug your guitar into it.
- Set the volume low or to zero before turning the amp on.
- Put the standby switch, if your amp has one, on “standby”.
- Turn on your amp.
- Wait around 30 seconds to 1 minute then switch the standby switch to “on”.
- Begin using your amp.
That’s the very simple step by steps to switching a tube amp on the right way. For a more detailed look at the correct way to turn your amp on follow the guide below.

Preparing Before Turning On
Before powering up your tube amp it’s a good idea to do some preparation first. It will help with its performance and how long it lasts.
You may think some of these recommendations are obvious and you don’t need reminding of them. But you’d be surprised how many people forget or don’t do the simplest
Gather Necessary Equipment and Tools
Firstly make sure you have the power cable specifically designed for your tube amp. Using the wrong cable might result in power issues or damage to the amplifier.
Get your guitar cables ready so you can connect them to the amp once it’s turned on.
Suitable Location
You will want your tube amp on a stable and flat surface to avoid. This is so it doesn’t fall over and get damaged. Also if it’s on an uneven surface then vibrations could affect its performance.
Ventilation is important for tube amps. They generate a lot of heat when they’re being used so you will want enough space around the amp to let the head dissipate.
Checking External Connections
Before turning on the amp double check all external connections like the guitar input, speaker output, etc. and make sure everything is securely plugged in.
Setting Volume and Tone Controls
As a precaution you should probably set the volume and tone controls to their lowest before turning the amp on. Or at the least turn them down a bit. This is to protect yourself from forgetting the controls are up high when you turn on and deafening yourself or damaging the speakers.
A lot of those will seem basic and obvious. But there no harm being reminded of them and it makes turning your amp on a safe process.
So let’s now move to to actually powering up the amp.
Powering Up – Step-by-Step Guide
This is a thorough step bye step guide to turning on a tube amp. Follow this for a proper start up:
- Confirm that the power cable is securely plugged into both the tube amp’s power input and a power outlet. Try to avoid using extension cords or power strips if possible as they sometimes cause noise or don’t provide enough power.
- Before turning on the amp set the volume and tone controls to their minimum.
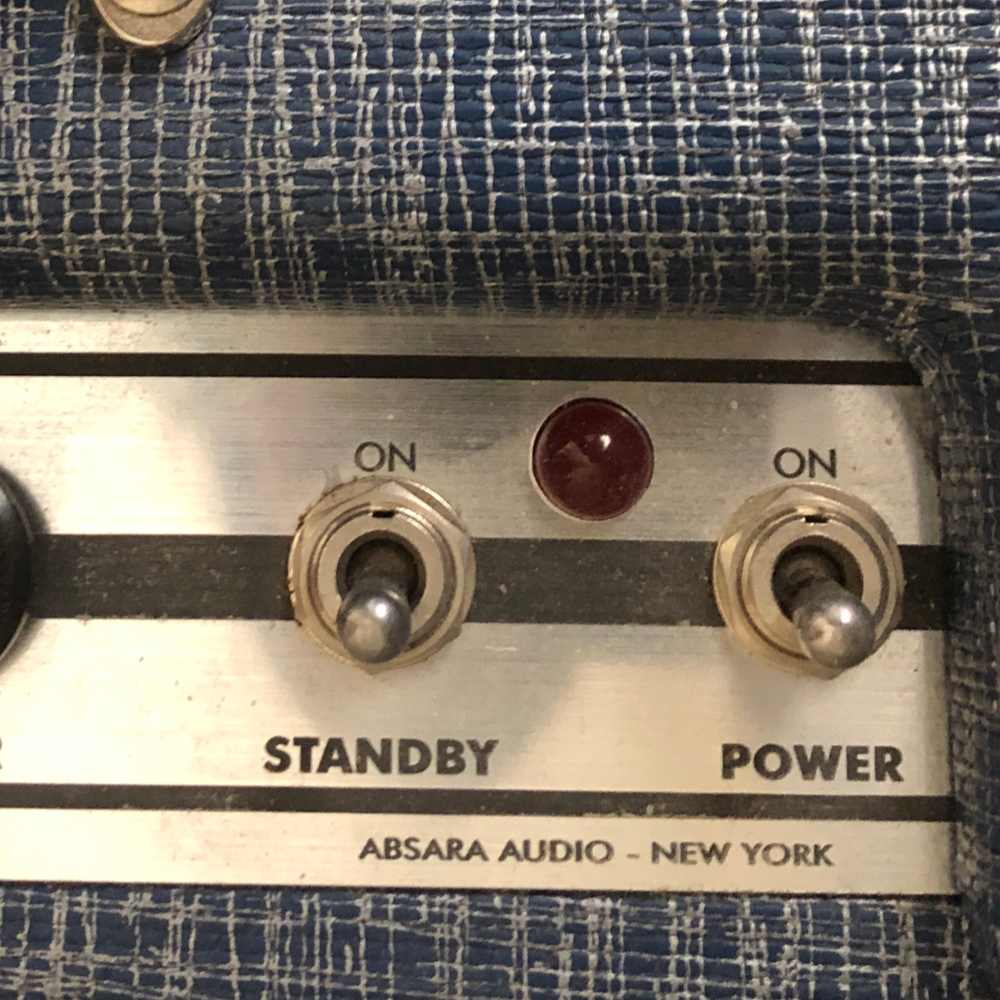
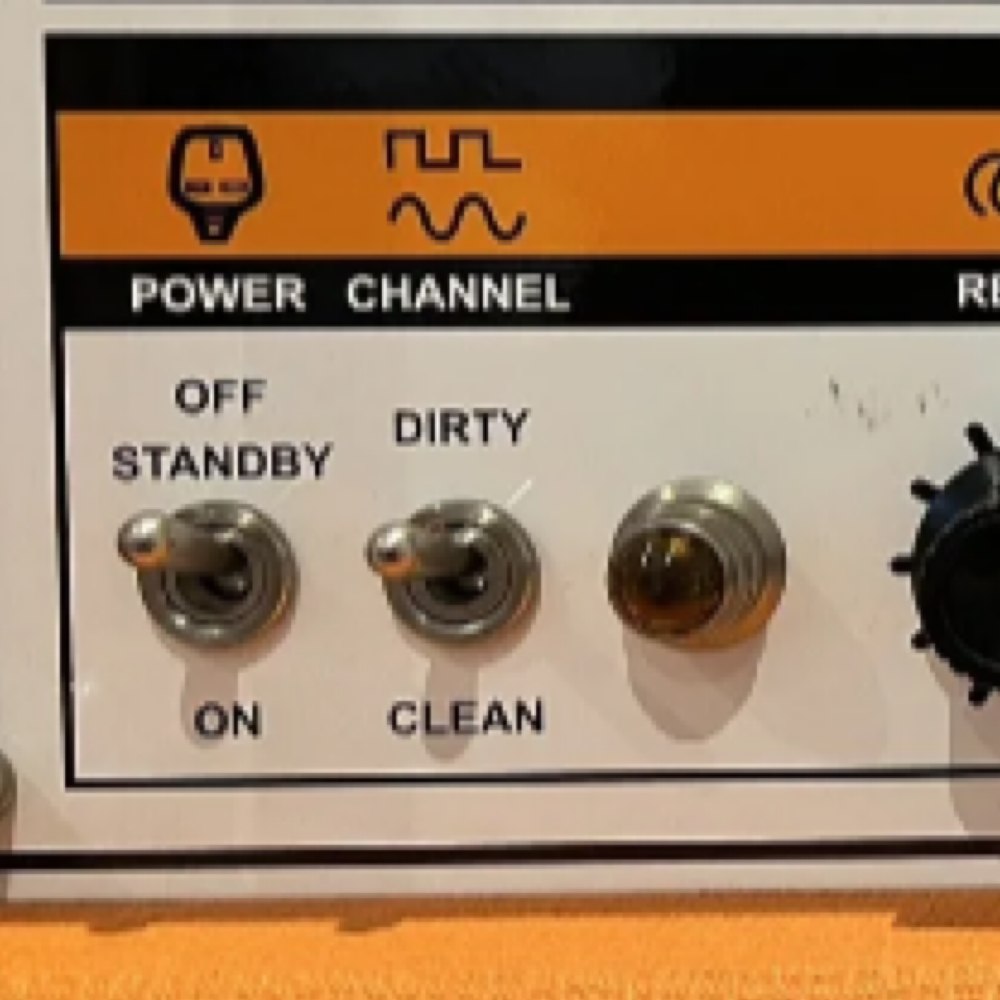
- If your amp has a standby switch check to see it is switched to “standby” rather than “on”. The standby switch allows the tubes to warm up gradually, which protects the tubes.
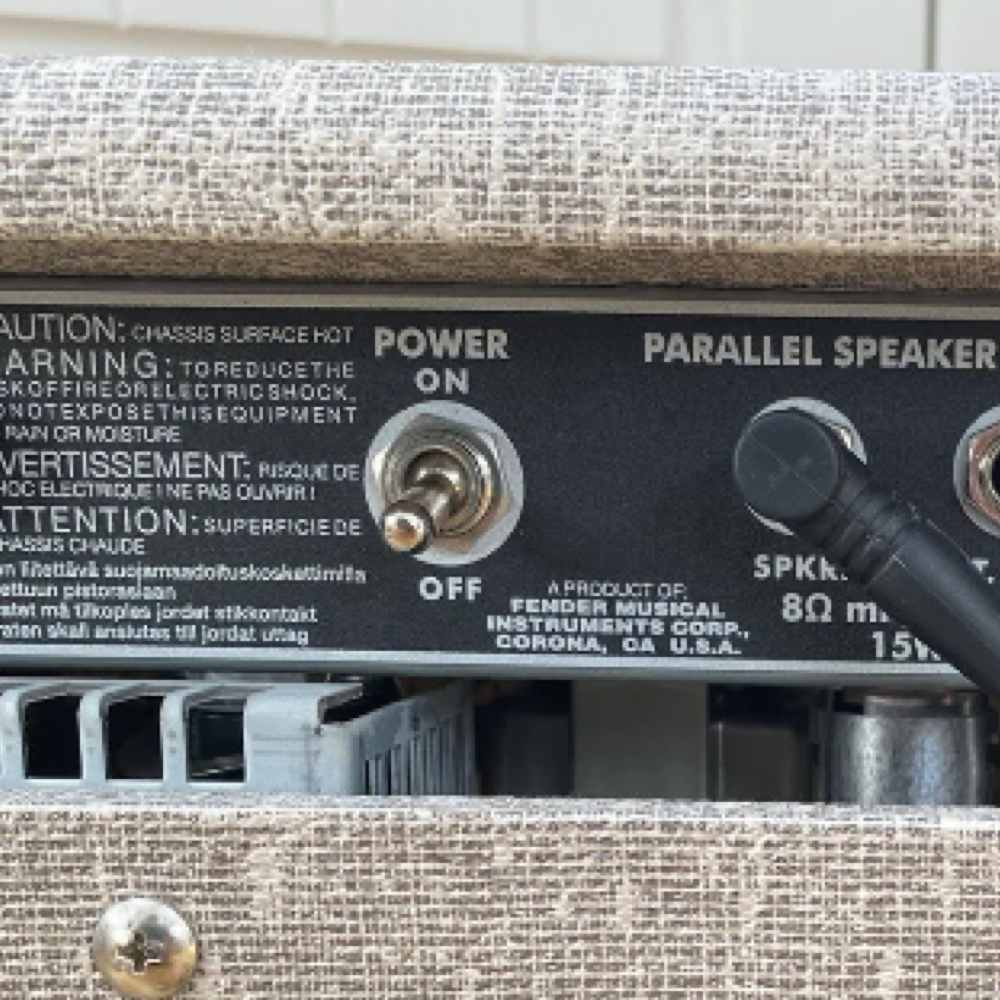
- Now you can flip the power switch for the amp to the “on” position. You should notice that the amp’s indicator lights, if it has any, come on. This shows that power is flowing through the unit.
- Wait roughly 30 seconds to 1 minute after turning on the power switch before switching the standby switch to “on”. This should be long enough warm up time.
- You can now adjust the volume and other controls to your liking and begin playing.
And that’s it.
Powering up a tube amp the right way will safeguard it from developing potential problems. They can be temperamental and delicate at times so doing all you can to keep your amp happy is recommended.

The Standby Switch
A lot of tube amps have standby switches. But they can be a little confusing at first.
If yours has one and you aren’t sure what exactly it does or how to use it properly then the following should explain standby switches simply.
What is the Purpose of the Standby Switch
The purpose of the standby switch on a tube amp is to protect the capacitors in the amplifier. When the tubes are warming up after the amp is turned on they don’t conduct high voltage. This means the voltage that begins to pass through the circuit when the amp gets turned on could rise to a level that is too high for the capacitors and potentially damage or short them.
So the standby switch is used to take away the high voltage while the tubes are warming up. Once they reach their operating temperature, after roughly 30 seconds to a minute of warm up time, the standby switch is turned off and then the tubes can drop the voltage to the correct and safe level for the capacitors.
The standby switch is mistakenly thought of as being used to protect the tubes. But that isn’t the reason it exists and in most cases a standby switch isn’t even necessary (and may even be doing some harm to the tubes) This article on Sweetwater does a better job than I could of explaining why that’s wrong and some myths around the standby switch.
Merlin Blencowe, well known electronics engineer, tube amp circuit designer and author of many books about tube amps has also written extensively about the standby switch myth.
Many amps nowadays have high voltage capacitors anyway, which sort of makes the standby switch pointless. But they’re so synonymous with tube amps it’s unlikely they’re going anywhere soon.

Importance of Warm Up Time
The warm up time allows the tubes to get the correct temperature and then drop the voltage down to the right level for the capacitors. This protects the capacitors from being shorted by the high voltage.
Recommended Warm Up Time
There’s no specific warm up time. And in a lot of cases it’s not even needed. But generally it’s recommended that the warm up period of around 30 seconds to 1 minute will be sufficient for most tube amplifiers.
However, consult your amplifier’s user manual for any manufacturer recommended warm up times for the best results.
Troubleshooting
It’s not uncommon for tube amps to develop some issues when starting up. Having an understanding of the common problems you might face and how to troubleshoot them will only help you to keep your tube amp working at its best.
So here’s a few of the problems you might face and how to deal with or fix them.
No Sound from the Amplifier
- Check the Input Connection: Make sure that your guitar is properly connected to the amp’s input. The cable must be securely plugged in and not faulty.
- Inspect Volume and Tone Controls: It sounds obvious but a lot of people forget they’ve turned down the volume. So double check that the volume and tone controls aren’t set to the lowest position, which would be causing no sound to come from the amp.
- Check the Speaker Output: The speaker could have come loose. Check that it’s correctly connected to the amps speaker output and the speaker itself is functioning properly.
- Examine Tubes and Fuses: A faulty tube or tubes and a blown fuse would result in a lack of sound. So check the tubes for any signs of damage or wear and see if any fuses need replacing too.
For a more in depth look at fixing problems like this see this guide to why your guitar amplifier turns on but there’s no sound.
Hum or Noise from the Amplifier
- Grounding Issues: grounding problems often cause noise or humming. Check and confirm the amps power cord is connected to a properly grounded power outlet. You might want to look into getting a power conditioner to address any grounding issues.
- Interference: other electronic devices can introduce noise. If that’s the case then you are either going to have to move your amp, move the other device or try using shielded cables.
- Tube Microphonics: This is where the sound from the speaker of your amp affects the tube and causes it to produce unwanted noise. You can find a microphonic tube by turning your amp up loud and tapping each tube. When you tap the offending one it will make a noticeable noise. The easy solution to this is replacing the tube that is causing the issue.
Excessive Hum or Buzz
- Tube Shielding and Orientation: if any tubes aren’t seated in their sockets properly or if they have shields they are also loose this could cause buzzing or humming. Simply check each to tube to make sure they’re correctly in place and the shields are installed properly.
- Check Grounding Connections: Any loose or broken grounding connections will cause noise. Check that all the connections within the amp are secure and properly grounded.
Amplifier Overheating
- Check Ventilation: Keeping your amp properly ventilated is key to avoid it overheating. So make sure it had adequate ventilation without any obstructions.
- Reduce Volume and Playing Time: If you’re running your amp at high volume for long periods of time it will be more likely to overheat. This can be difficult to avoid other than by taking breaks and letting it cool down.
When in Doubt – Seek Professional Help
If your amp is having regular issues and you can’t solve it then getting qualified amp technician is the best idea. This is especially true considering tube amps have high voltages which if you fiddle with and don’t have the proper knowledge could be dangerous, to both the amp and yourself.
FAQ
Can Leaving a Tube Amp on Standby Damage it?
Yes, leaving a tube amp on standby for extended periods can cause damage to the tubes and other parts. When you’re not using the amp it’s recommended you turn it off.
What is the Proper Sequence for Turning on a Tube Amp?
The proper sequence for turning on a tube amp is:
- Plug it into a grounded outlet.
- Put the amp on standby (if it has it).
- Turn on the power switch.
- Leave it 30 seconds to 1 minute.
- Turn the standby to “on”.
- Start playing.
How Long Should you Warm Up a Tube Amp Before Playing?
Amps don’t really need any warm up time. In fact many amps don’t even have a standby switch. A good rule of thumb is to turn on the amp, either leave it on standby (if it has one) or leave it idle, tune your guitar which should take around 30 seconds, and then play.
Related Articles
Does it matter how you turn it off?
Good question, and I’m going to write an entire post about this too, which I’ll link to from here when it’s done.
The quick answer though is that you don’t need to put the amp back into standby before turning it off. You can go ahead and switch it off without having to worry.